

|
I use Smore to curate most of the resources I give to both students and teachers. I love the sleek look of the online flyers and overall ease of the site. My favorite feature is the ability to duplicate a flyer! I just change a few things, enter new project/assignment information and edit the background if needed. Makes it super easy to reuse resources from one teacher to another!
Check out my S'Mores below!
0 Comments
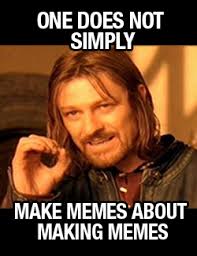 I was recently in a PLC with some of my ELA teachers and I suggested having the students create memes for an activity they were doing. One of the teachers immediately said NO because of the content that they can find on some of the meme generator websites out there. She's right. Some generators either show too many inappropriate pictures for the classroom or they're blocked. So here's an alternative. Have your students use Pixabay or Photosforclass to search for images. They can also use Google image search (just make sure they're using a copyright free image and it's appropriate). Then, have them insert whatever photo they want for their meme into Google Drawings. Put text over the canvas that will stand out from the background and BAM! You have your meme. Safe and easy to create. Students can resize the canvas by going to "File" "Page Setup" and changing the size to custom and entering in the size they want their meme to be. Students can then share it as a link or download their meme. Memes can be great for the classroom to show understanding of a topic/concept and it's fun for the students to be creative and clever where they wouldn't normally have that opportunity. Click this link for a template for your students! Click here for a folder of most commonly used meme blank backgrounds. 
I'm now a Flipgrid Ambassador! Pretty pumped to share this awesome tool with not only my staff, but at conferences, edcamps, and other professional learning opportunities.
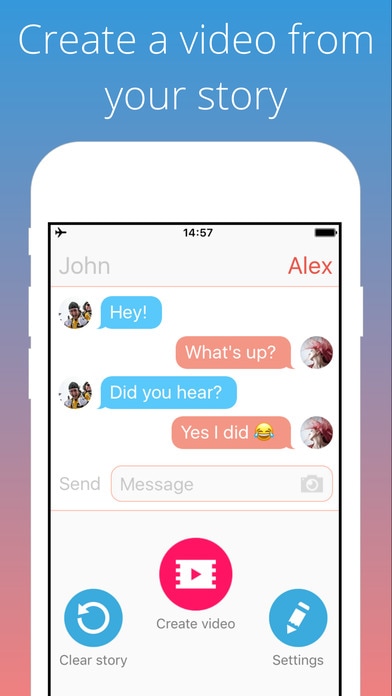
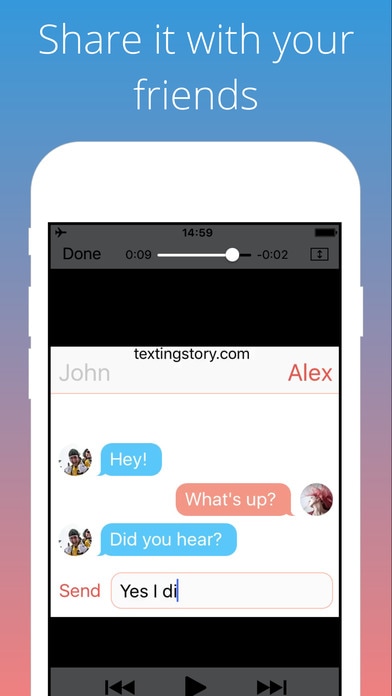
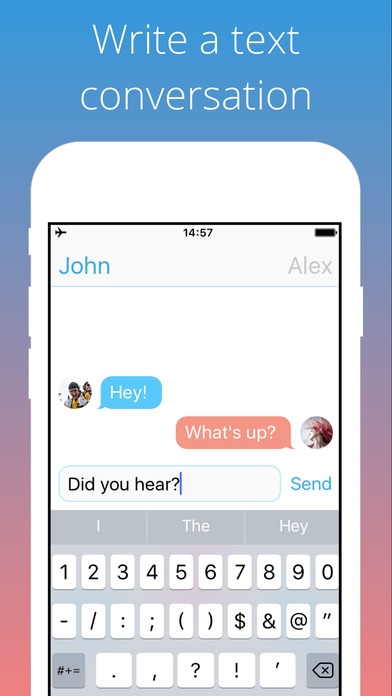
I've written about Flipgrid in the past, but I wanted to do a little post about 5 innovative ways to use it in your classroom in case you like it but you're a little stumped! 1. Use it as a bellringer! Have a question about what you learned the previous class period and see your students give their answer via video and more importantly see them think. 2. Have a class debate! Have your students create a video of their point of view then reply to a classmate. 3. Feedback. You can have your students give feedback on a lesson you just finished or a project they're doing. See what they think and what they would change! 4. Book Review. Use Flipgrid to facilitate book discussions over characters or plots or themes. Get them to dive into a character and share what they think! 5. Exit Ticket. Have your kiddos respond to something that they learned in your class, something they did or created, or something that they're struggling with. If you're interested in using Flipgrid more, visit Flipgrid's blog! There you can find more ways to use it in the classroom as well as ways to become a Flipgrid Certified Educator as well as a Flipgrid Community Builder. Also take a look at #FlipgridFever on Twitter! What are some other ways you see yourself using Flipgrid in your classroom?  So we've all seen the funny videos on Facebook & other social media websites about texting conversations back and forth between two people. What I had NOT thought about was how it could be used for education! TextingStory is an app that lets you create a conversation between two characters. Think about using it for two people in history! Your students could demonstrate what they're learning by creating a conversation between Thomas Jefferson & Alexander Hamilton! How cool is that!? Also - where was this when I was in the classroom!? This would also be great for characters in ELA, to have conversations in a foreign language, for Science to impersonate a scientist and talk about a topic, etc! Super fun app that would engage students while still assessing them! Check out this classroom example from some of our DLCs: TextingStory Example  I've talked about Google Drawings before and how great it is for graphic organizers but what I didn't write about is how it can be used like a Thinglink.
If you haven't used Thinglink, it's great for using with your students. It takes an image and makes it interactive. Students can create hotspots over the image that link out to YouTube videos, pictures, text, Google Docs, websites, etc. The thing that limits you, however, is the customizable options. You're limited to only a few hotspot options and it's not collaborative in real-time. That's where Google Drawings comes in. You can insert images (whatever images you choose) and link them to websites, pictures, videos, etc and have your students collaborate on the same image at the same time. Here's an example that I've created. All hotspots have a yellow boarder around them for easy viewing. Happy Drawing! |
AuthorDigital Learning Coach & technology lover. Constantly looking for innovative ways to engage students and facilitate 21st century learning. Archives
October 2023
Categories
All
|
 RSS Feed
